“Unfortunately, I couldn’t charge my iPhone 6 for the past few days. I’ve checked my charging cable and port; I didn’t find anything wrong there. Is there any solution to this problem”?
When you face the” iPhone 6 won’t charge” problem, you’re alone in it. Instead, many people have experienced this and often ask the same questions.
It is difficult to find the exact reason behind this chaos. However, you can assume your charger adapter or charging port to be at fault whenever you face this issue. Or you may have some issues with your iPhone as well.
Whatever the issues are, we’ll tell you about the solutions to fix the issue in this article. Let us begin it.
Table of Contents
Method 1: Check the Charging Cable
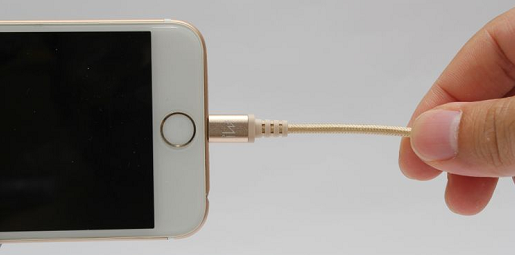
If you’re struggling with the” iPhone 6 won’t charge” issue, you need to check your USB adapter or charging cable.
Sometimes, the charging cable suffers physical damage that means you can’t charge your device.
You can try changing your charging cable and put your device to charge through a new charging cable. If the issue remains, you can try out other solutions.
Method 2: Clean the Debris or Dirt
Due to dirt or debris on your charging port, you may face an” iPhone 6 won’t turn on or charge” issue. Any debris or dirt not only damages your charging port but can also harm your iPhone.
If you find any dirt on your charging port, clean it gently. Don’t use any hard thing to clean the dirt. It is a pretty sensitive place, and even a slight mistake can damage your iPhone.
After cleaning the charging port, you can try putting your device to charge. If all goes well, you’ve solved the issue. But, if things don’t improve, you can move to the next solution.
Method 3: Restart Your iPhone 6 to Fix the Charging Issue
Despite giving a quick try to a couple of methods,” if iPhone 6 won’t hold charge” the fuss persists, you need to restart your device. Sometimes, the software issue doesn’t allow your iPhone to get charged.
Restarting your device may prove a good idea for you as it solves many iPhone or iPad issues.
Here’s the quick guide to restart your device.
Press and hold your iPhone device’s home and top buttons until an Apple logo appears there.
Method 4: Restore Your iPhone with iTunes
Another thing that can fix your iPhone is restoring your device via iTunes. Although this process will eliminate all your data, it can help you get rid of the issue you must have been facing currently. You can perhaps backup your data before going for Restore.
Here’s a quick guide to putting things in order.
Step 1:
After iPhone to your computer, launch iTunes. Now, you may see the iOS device icon on your screen’s left corner.
Step 2:
If the iPhone icon isn’t visible to you, putting the device in recovery will remain the last option. For this purpose, you’ll need to hold the side and home buttons until you see the recovery mode screen there.
Step 3:
Hit the device icon when your iPhone device is in recovery mode. Later, you’ll need to press on ” Restore iPhone”.
Step 4:
Now, you can backup your device by hitting the” backup” option. You can also skip the option if you’ve already backed up the data.
Step 5:
In the last, you’ll need to hit the” Restore” option from a confirmation window option that pops up. You need to be patient and wait for a few moments before completing the process.
Now, your iPhone 6 will get restarted. After, it would help to put your iPhone to charge and see how things shape up now.
Method 5: Put Your iPhone in DFU Mode
If restoring your device via iTunes doesn’t come good, you can try putting your device in DFU mode. Sometimes, putting your iPhone to DFU can also solve any unforeseen issues.
Follow the guide below to get it done.
Step 1:
First of all, you’ll need to launch iTunes on your computer. You need to make sure the iOS device is turned off.
Step 2:
On your iPhone, click and hold the iPhone Power button for a couple of seconds and leave it there.
Step 3:
In this phase, you’ll need to hit and hold both home power buttons simultaneously for about 10 seconds or so.
Step 4:
Now, you can leave the Power button but make sure you don’t leave home for 5 seconds. Later, if your screen turns black, it means you’ve succeeded in putting your device to DFU mode.
Step 5:
Now, you’ll need to press the” Restore” option in iTunes and be patient for some moments. After some time, you’ll be able to turn on your iPhone. Your job is to check whether things have gotten better or not.
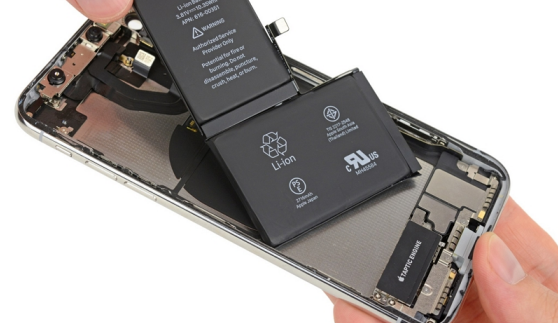
Method 6: Check for Liquid and Physical Damage of iPhone
It isn’t easy to determine the physical damage. But, you can easily identify liquid damage. You can check for liquid damage if your iPhone has had contact with water.
If you find it hard to do it, you can consult Apple-authorized technicians to help you out in this matter. Luckily, iOS devices possess a liquid detection option that can easily identify the liquid damage your iPhone can suffer.
The indicator changes its color whenever your iPhone gets contacted with liquid. If you want to find this indicator, you’ll need to remove your SIM card tray. If there’s even slight liquid damage on your iPhone, the inductor will turn completely red.
If you think the liquid damage is severe, you can consult the Apple Store and tell them the whole scenario. They will surely find a way to get your issue solved.
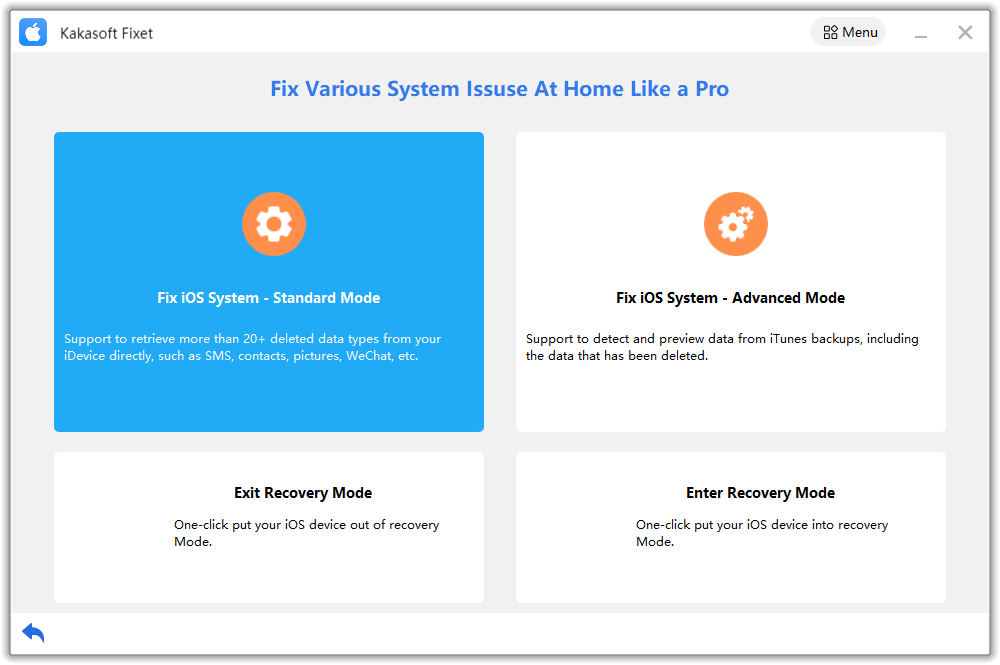
Method 7: Use Third-party Software – Kakasoft Fixet
If you haven’t found anything wrong with your iPhone’s charging accessories, then there can be a few software issues with your iPhone.
Restoring your device through iTunes is a reliable gig, but you need to use a third-party tool for a better experience. For this purpose, you can get the services of Kakasoft Fixet.
It is a fascinating tool that doesn’t cause data loss and serves your purpose better than expected.
Apart from providing you with an easy user interface, Kakasoft Fixet can fix more than 200 device issues with minimal effort.
Moreover, you’ll only need to repair your device with Kakasoft Fixet’s standard mode to fix your iPhone’s charging.
Here’s the guide to do it.
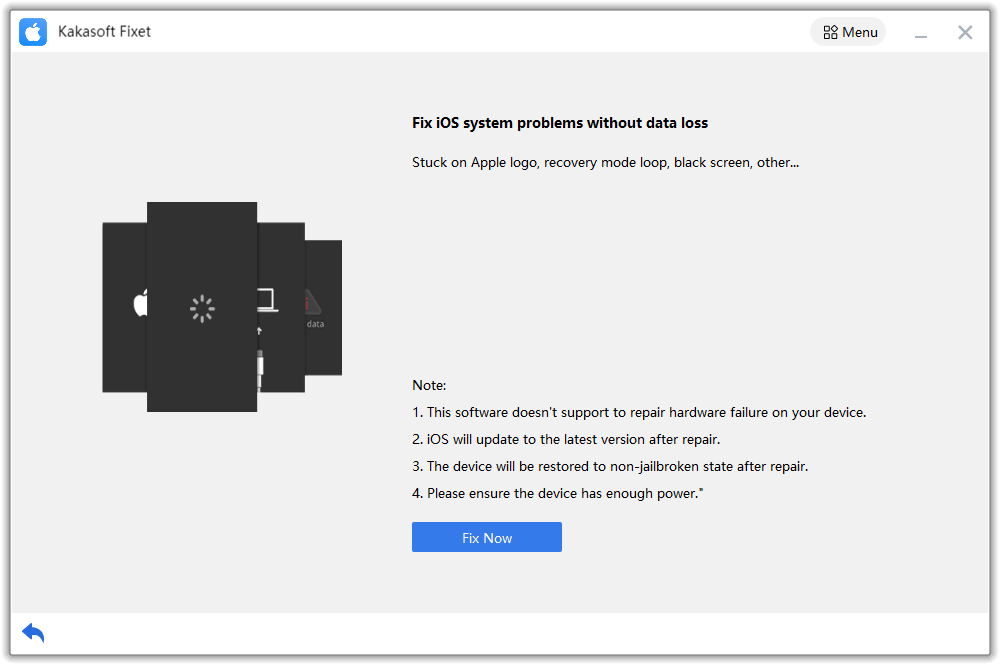
Step 1: Install Fixet
First, you’ll need to install Kakasoft Fixet on your device and launch it afterward.
Step 2: Connect the Device to PC
In this phase, all you need to do is connect your iPhone to your PC through a USB wire. Later, you’ll need to hit Standard mode on the left side of Kakasoft Fixet’s home screen.
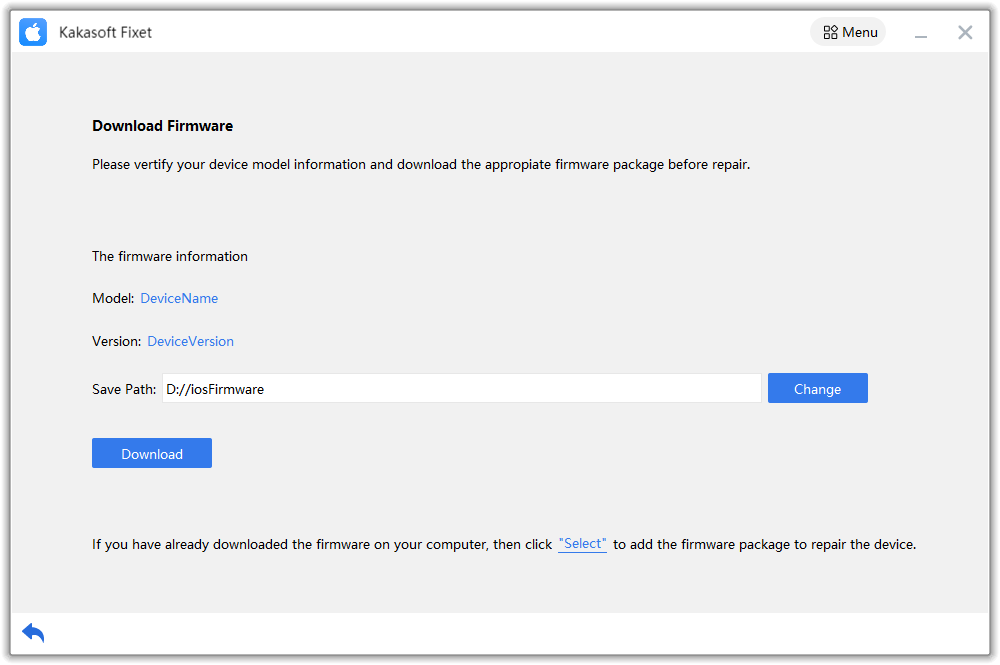
Step 3: Download Firmware Package
Now, you’ll find many firmware package options to look at. You need to look for a befitting option that suits your caliber. After finding it, hit the Download icon to save it.
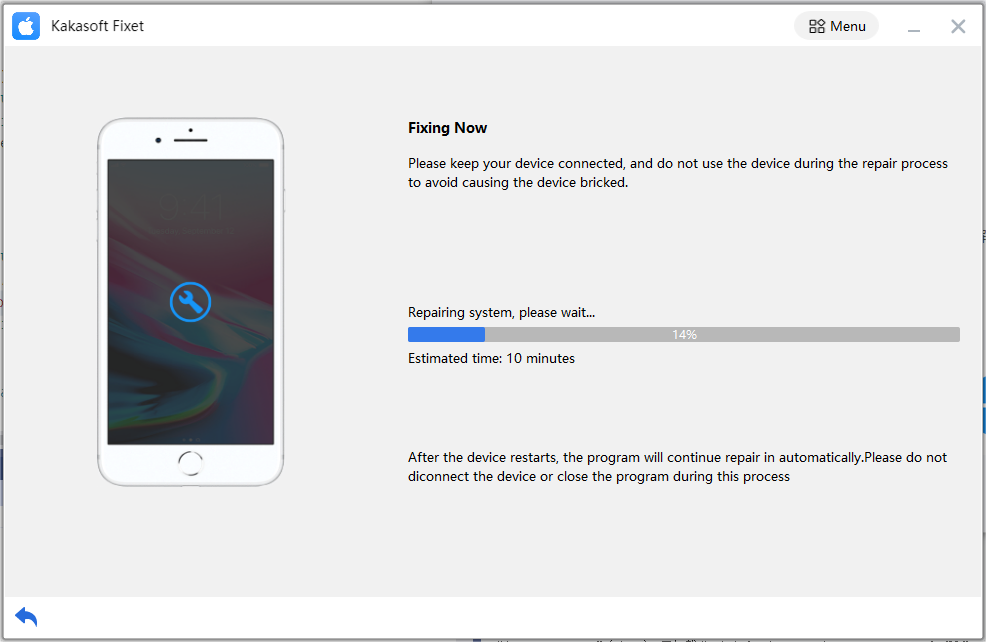
Step 4: Repair Your Device.
After getting a reasonable firmware package, you’ll need to click on the Repair Now option to start the process of repairing the iPhone 6.
The process will take some moments before completion. After restarting your device, you need to put your iPhone to the charging cable and try to charge it.
Hopefully, you’ll be able to charge it properly now.
Conclusion
We’ve tried to help you eliminate the” iPhone 6 won’t charge” issue in this article. The solutions we’ve talked about in this article are worth your time.
You’ll be able to fix your issue with minimal effort by applying all these methods. However, if you want to opt for a quick solution, you need to acquire the services of Kakasoft Fixet.
There are so many things to like about this third-party tool as it aims to assist you in any iPhone-related issue.