Free File Shredder is used to shred your essential unwanted files permanently to avoid data leaks. It can quickly shred files by overwriting random bits 15 times using advanced algorithms, making recovery impossible.
It supports Windows 10/8/7/xp, 32-bit and 64-bit edition, Windows XP, Windows Vista, and all earlier versions. Users may follow the quick guide shown below to shred their files for free.
Step 1. Add New Folders/Files
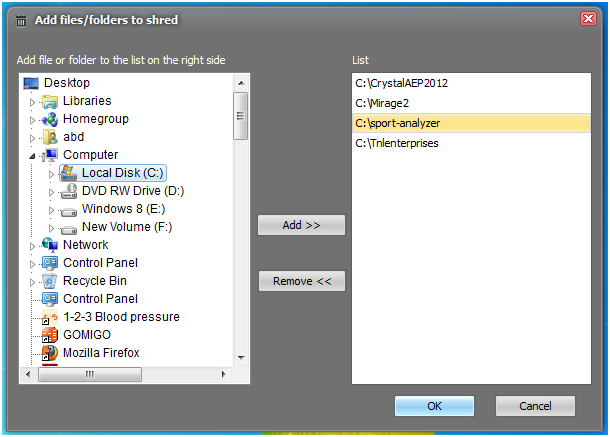
Download and install Free File Shredder. Add a new folder or file by clicking the “Add” button or dragging it directly from your hard drive or USB drives for shredding.
Before adding a new folder or file, you may clear any previous activity list. You also can remove any item from the list as per requirement, using the Remove << buttons.
Step 2. Shred Files Permanently
Free File Shredder supports three methods of shredding files permanently.
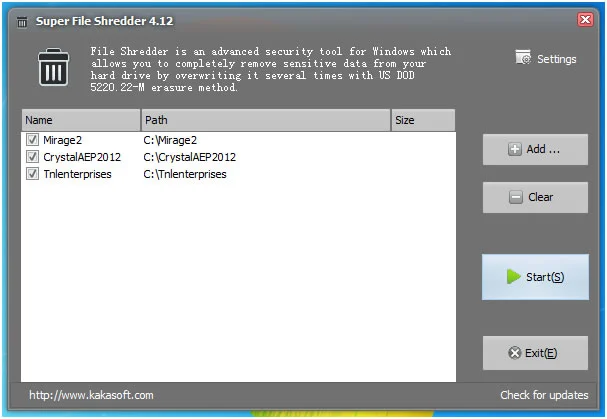
Method 1. Click the “Start” button on the main window to shred your files permanently. It will only take a few seconds.
Method 2. You also can create a unique Recycle Bin-like icon on your desktop and easily shred your files by just dragging them over the icon.
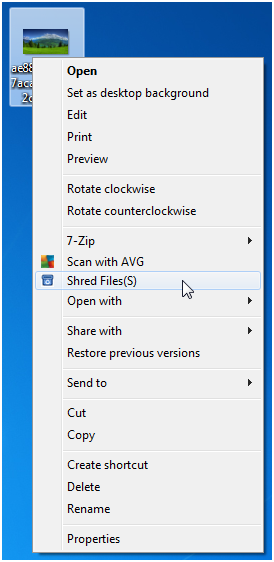
Method 3. Another simple method is to right-click the folder or file and select the Shred File(s) option.
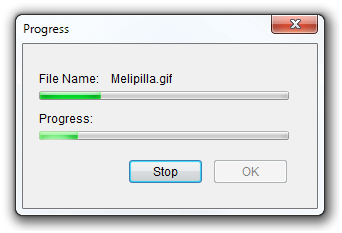
When shredding files, you can easily halt the shredding process at any point by clicking the Stop button on the Progress windows.
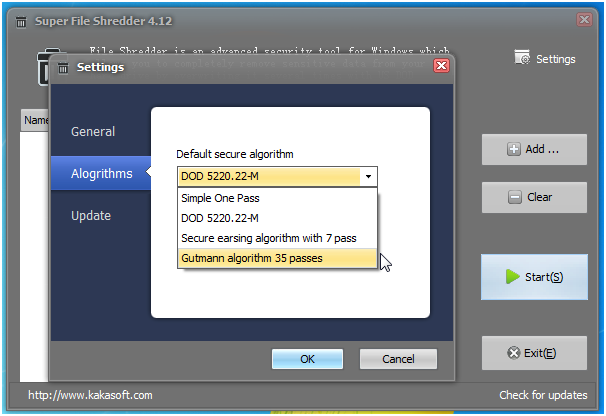
Step 3. Advanced Settings
Free File Shredder supports multiple algorithms for secure file deletion. You can easily switch between these options if you are an advanced user. Otherwise, we would recommend not playing with file deletion techniques. The context menu can be modified using General settings. At the same time, the automatic update schedule, as well as manual update features, can be configured using the Update tab in the Settings window.